Sunday, February 1, 2015
Careful Cutting
Ask me know I know that.
But also because cutting tools seem to work so much better when they can cut at their own pace, which is generally slow. This is particularly true with bandsaws, which many people claim cannot cut a straight line. For a long time I believed them (possibly because I owned a very terrible bandsaw and a so-so one before scoring my Delta 14-inch. The Delta wants to do the right thing, and it will if you just dont push it too hard.
The same is true with drill presses... For a long time I had a heck of a time drilling simple holes. Bits would burn, smoke would pour out of the holes, as if I were drilling into Hades itself, and sometimes the inside of the holes would actually be burnt black.
Silly stuff... none of that happens if I just take my time.
I cut the bottom of my dish rack out of 1/4-inch plywood using a Skilsaw. A Skilsaw is capable of cutting amazingly straight lines if you dont try to use it free hand. Since discovering this fact, I always clamp a guide to the work, and run the saw along the guide. The result: stress free cutting and perfectly straight, accurate cuts.
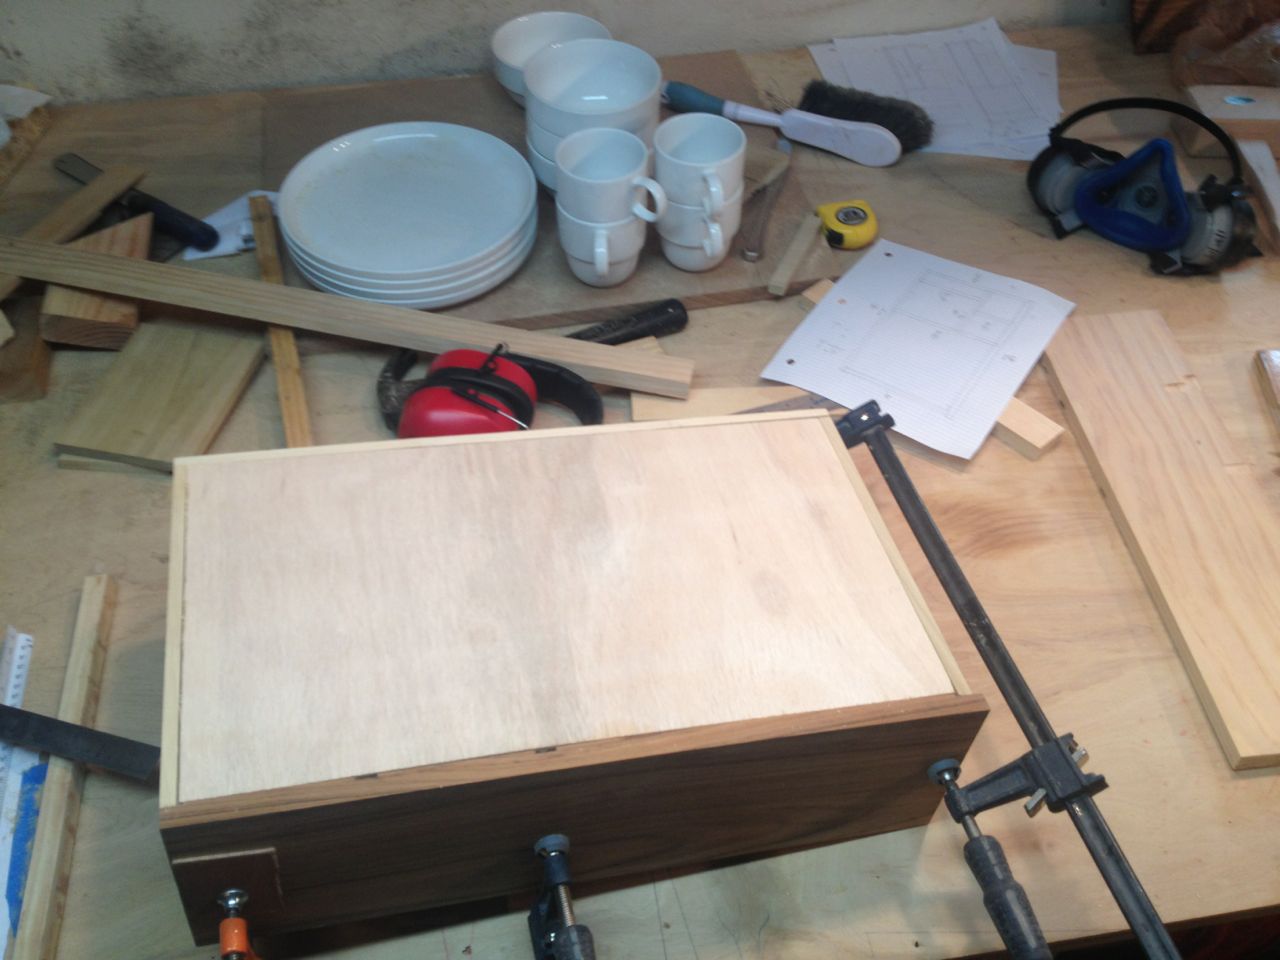 |
| Bottom fitted into rabbet |
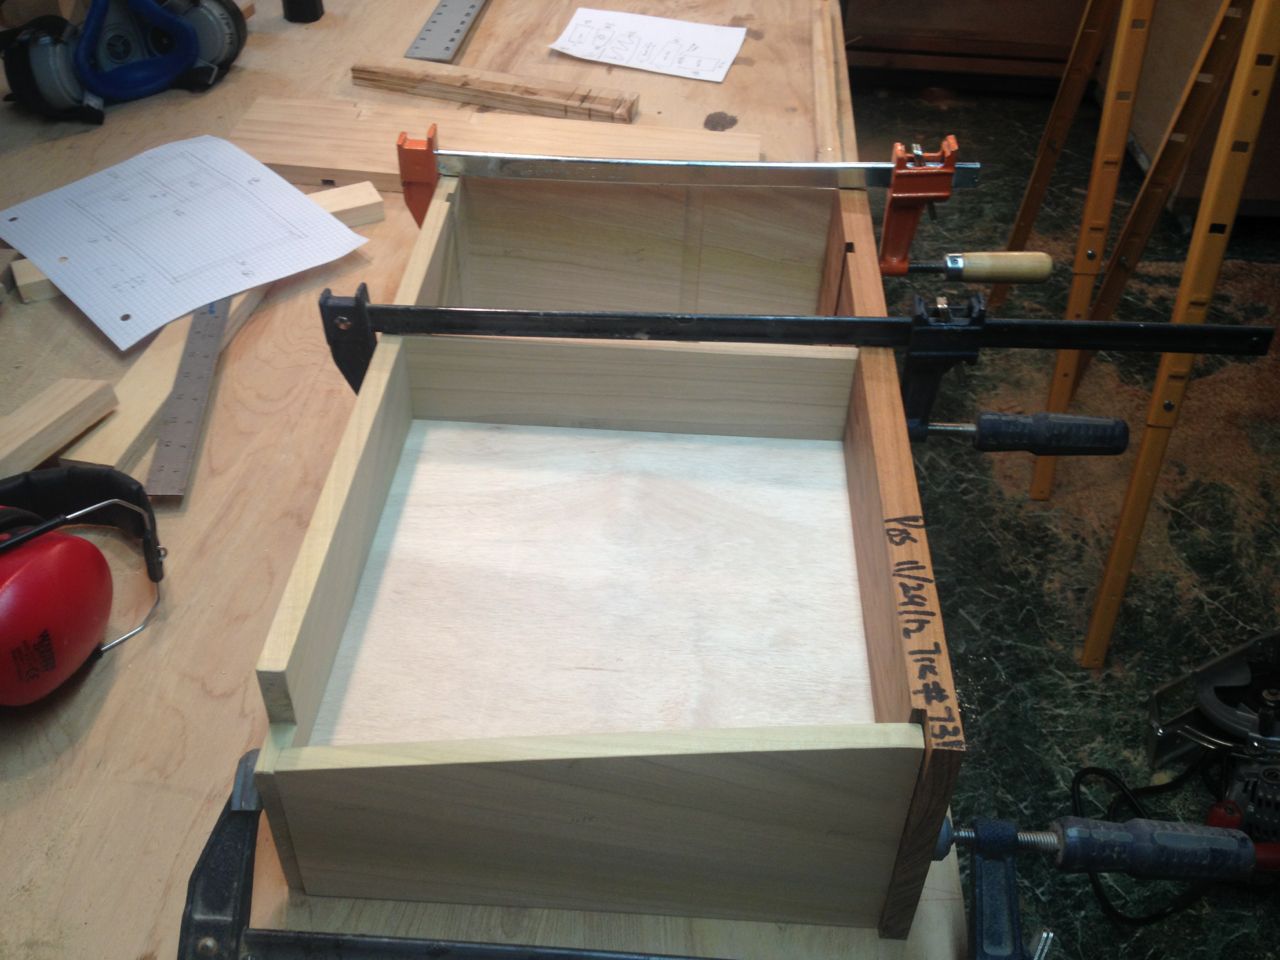 |
| The dinner plate shelf clamped into its slot |
After considering several options, I ended up drilling a 1" hole at the bottom of the slot, and then cutting down to it on the bandsaw. This is where I really took my time, measuring everything 3 times, cutting the whole nice and slowly so it didnt burn the wood or blow out at the bottom, and then cutting down to the holes on the bandsaw VERY slowly, so the line was a straight as possible.
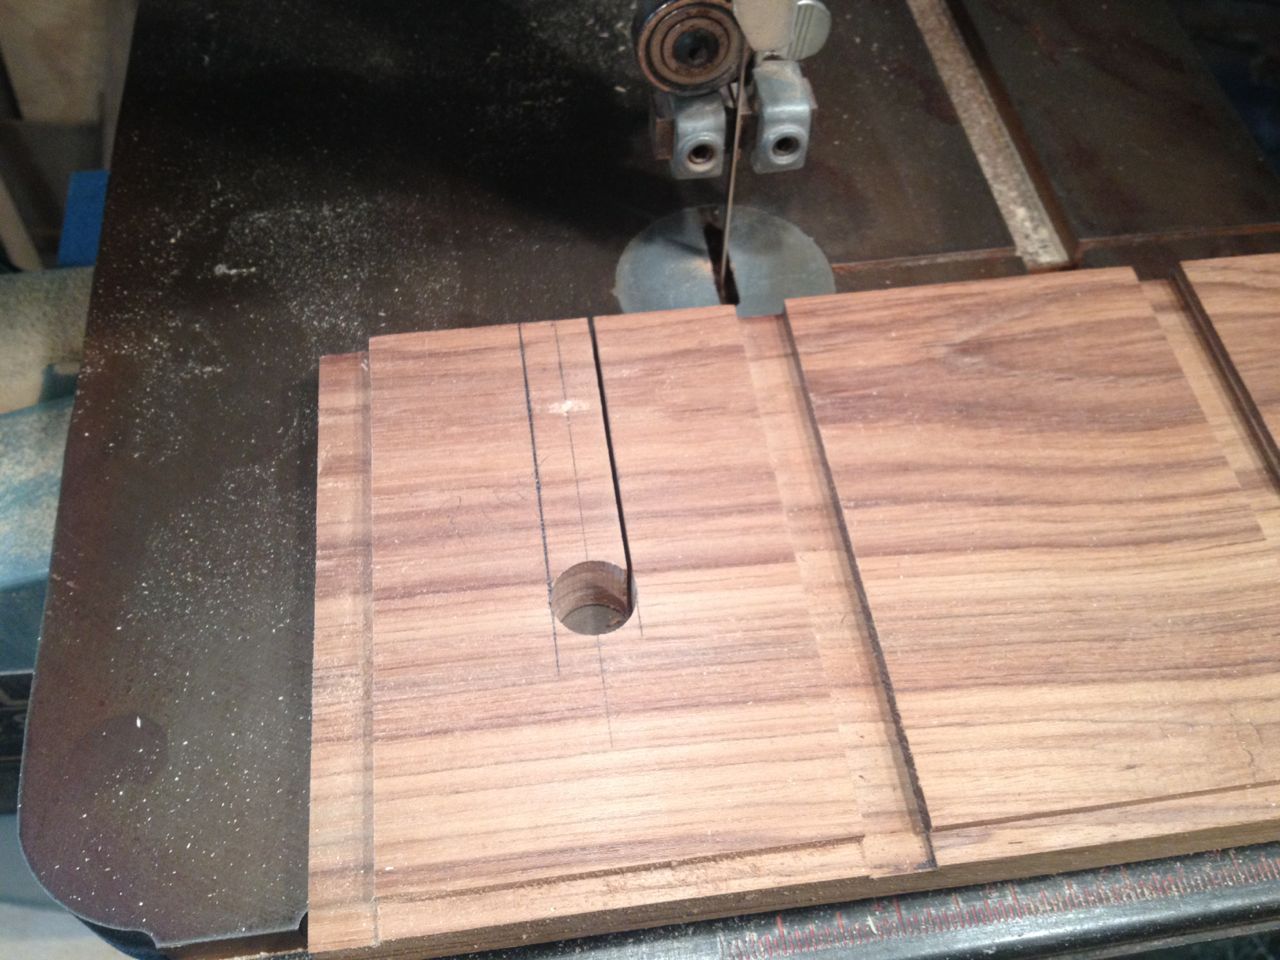 |
| Cutting the... whatchamacallits... the slots |
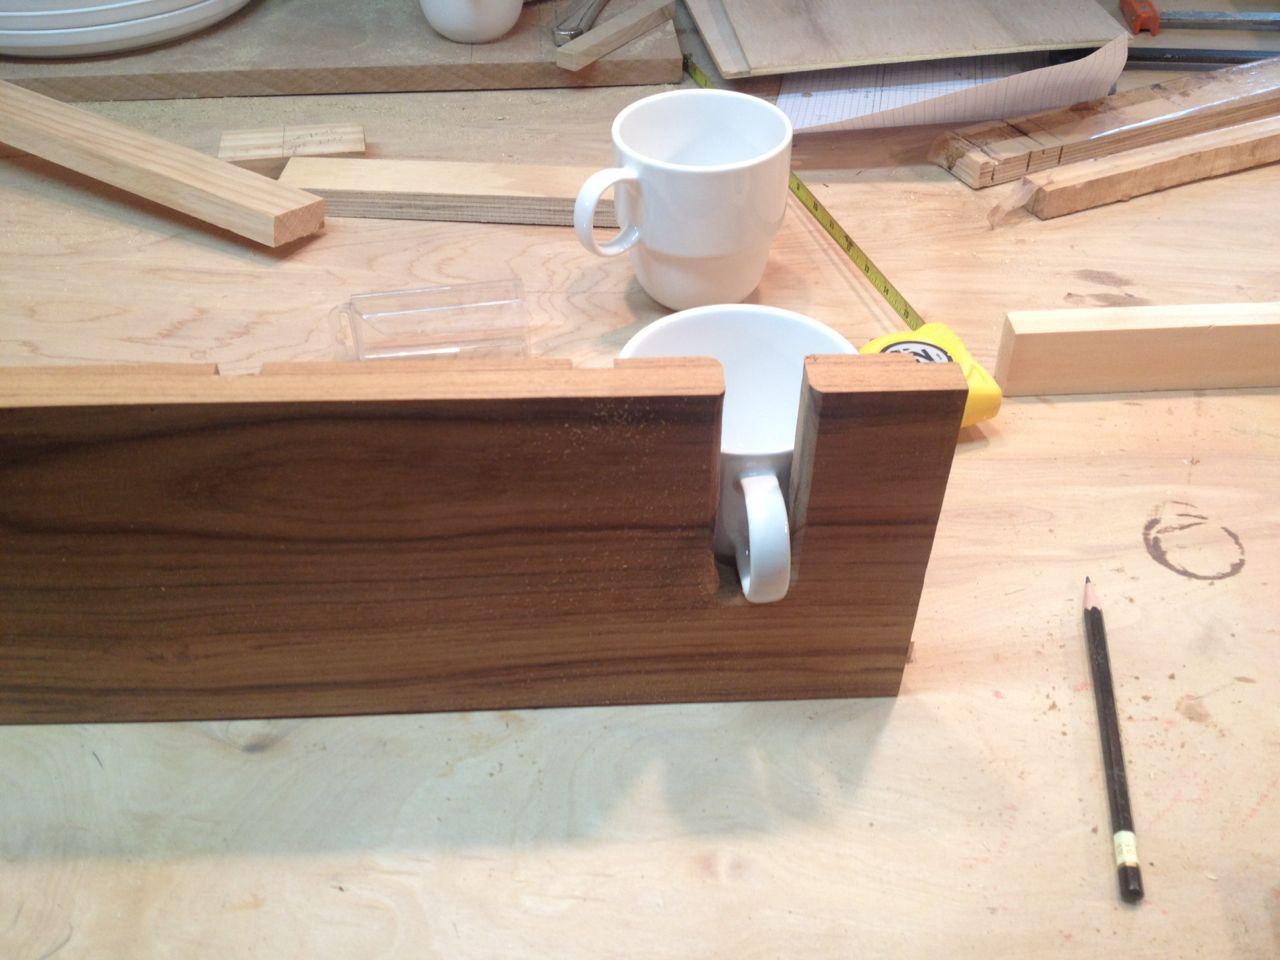 |
| This might just work... |
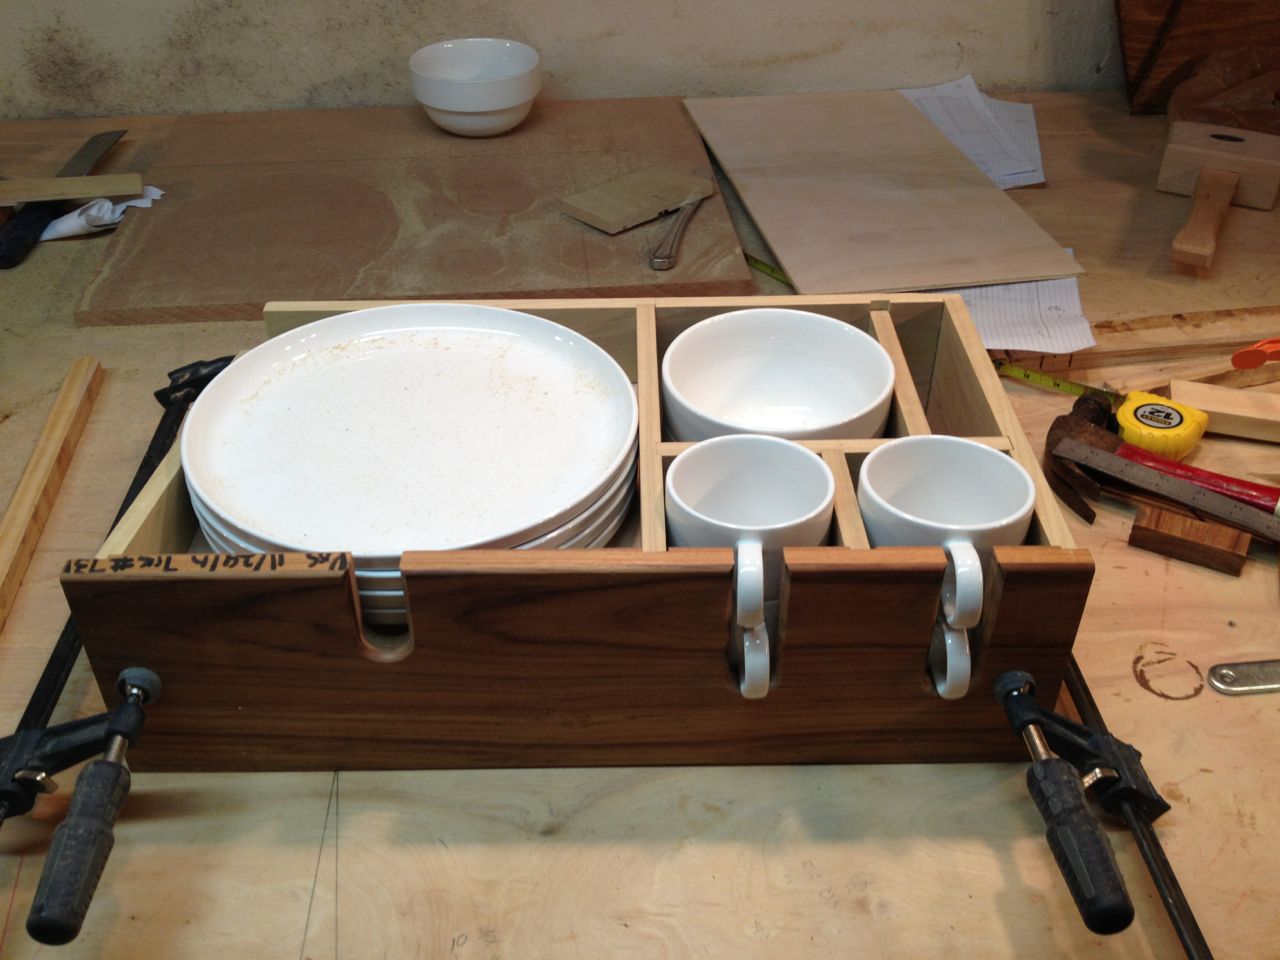 |
| Clamped together, with shelf under dinner plates |
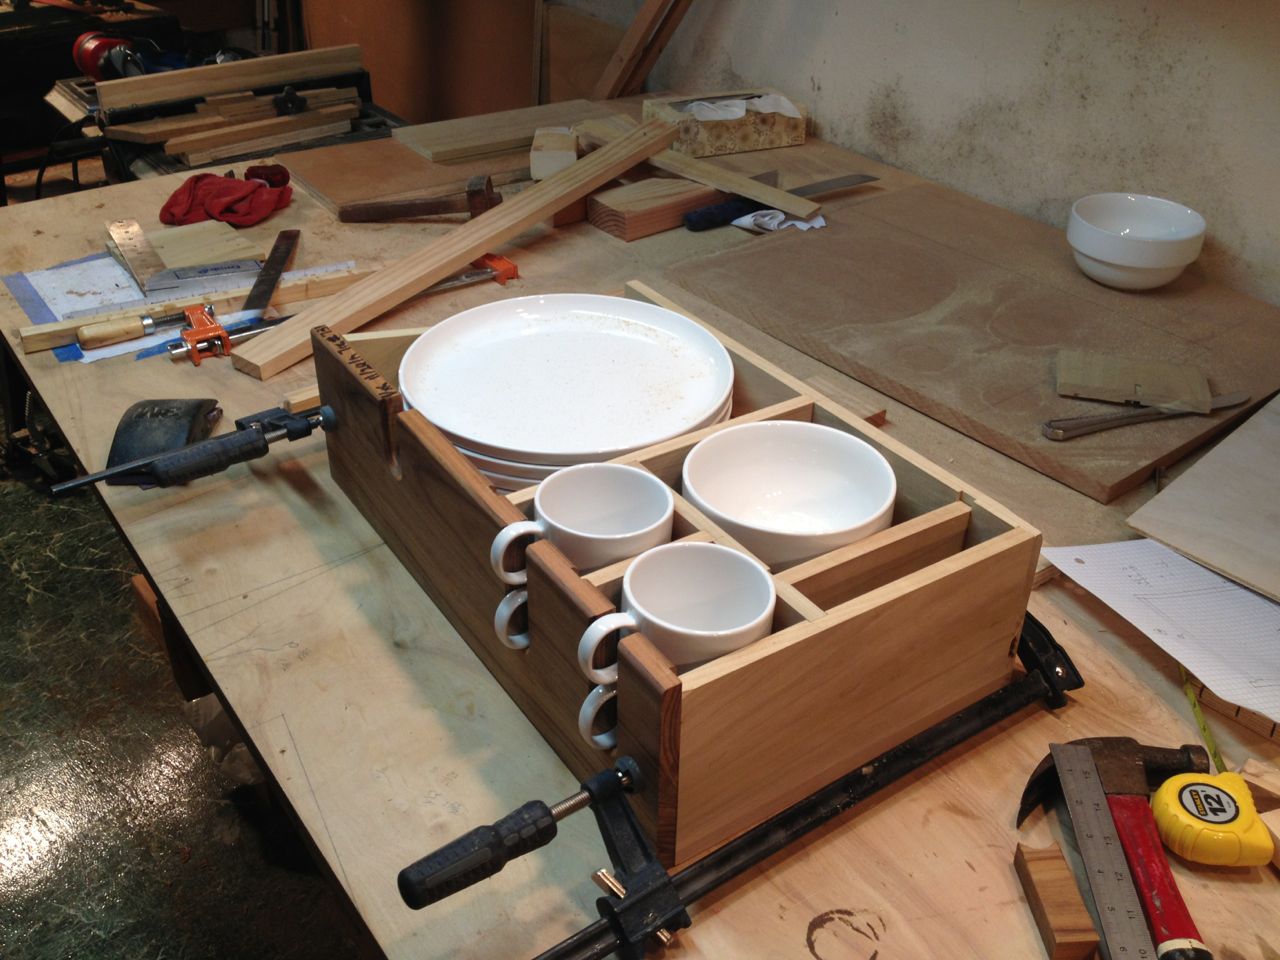 |
| That one low divider just slipped down while I was taking the pictures. It will be level with the rest when its glued up |
Call me over-cautious, but Ill believe in that drawer when I see it.
I wonder if this bandsaw has a slower gear...
Next Episode: The Great Drawer Fiasco
0 comments:
Post a Comment